Context API + useReducer in React
Shopping cart App - using Context API + useReducer in React


In your react journey , you might have come across REDUX , which is a state management solution for web apps. Redux is a great library for managing state but includes a tons of boilerplate code and can overkill in a small to medium application.
So, For the small to medium sized apps, inspite of reduxwhich adds boilerplate code we can simply use : Context API + useReducer, which works flawlessly for the state management.
Let's create a small shopping app, using context API and useReducer()

create a new react project using create-react-app
Step1: Now start with creating src>data.js
export const products = [
  {
    id: 1,
    name: "Glares",
    imgSrc:
      "https://cdn.shopify.com/s/files/1/0661/7423/products/avenger-001-right-view.jpg?v=1647674255",
    qty: 0,
    price: 1000
  },
  {
    id: 2,
    name: "T-shirt",
    imgSrc:
      "https://images.bewakoof.com/t540/lost-mountains-half-sleeve-t-shirt-272010-1651248011-1.jpg",
    qty: 0,
    price: 500
  },
  {
    id: 3,
    name: "Socks",
    imgSrc:
      "https://cdn.shopify.com/s/files/1/0177/5579/9606/products/2_55bdc4e1-c8a4-4a3a-bb39-2b1e26986026_1800x1800.jpg?v=1606491099",
    qty: 0,
    price: 50
  },
  {
    id: 4,
    name: "sunglasses",
    imgSrc:
      "https://assets.myntassets.com/f_webp,dpr_1.0,q_60,w_210,c_limit,fl_progressive/assets/images/5612586/2018/10/10/cc19682a-5cd9-4d98-a097-f49d6031def01539166256552-Roadster-Unisex-Square-Sunglasses-MFB-PN-PS-T9694-5631539166256479-6.jpg",
    qty: 0,
    price: 10000
  }
];
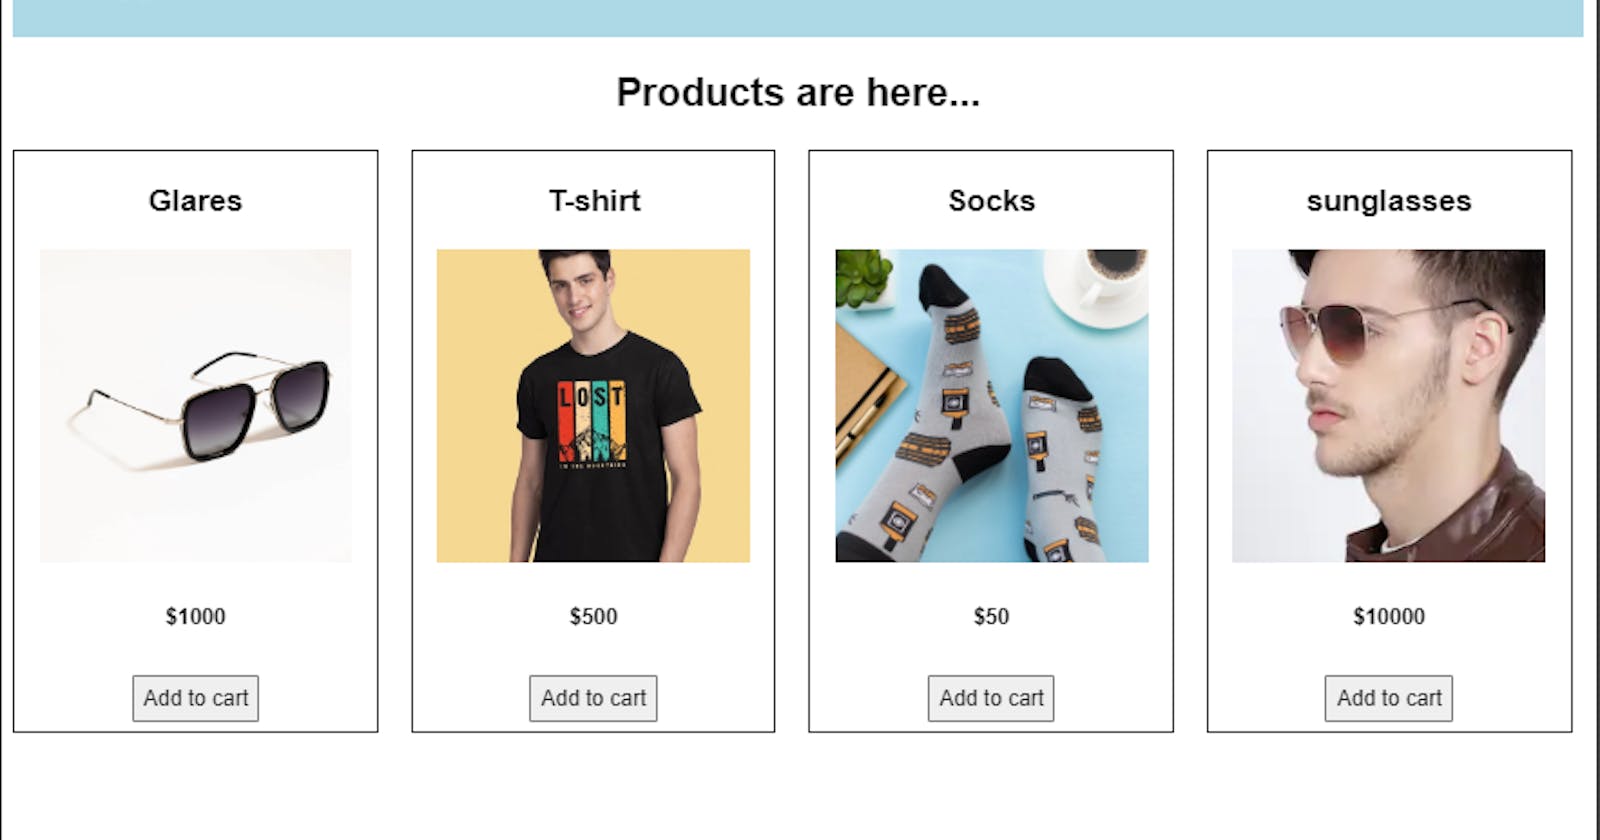
Let's create the basic design for usr products listing:
Step2: In App.js , we'll be mapping the products in the card
import "./styles.css";
import { products } from './data';
import Card from "./Card";
export default function App() {
return (
<div className="App">
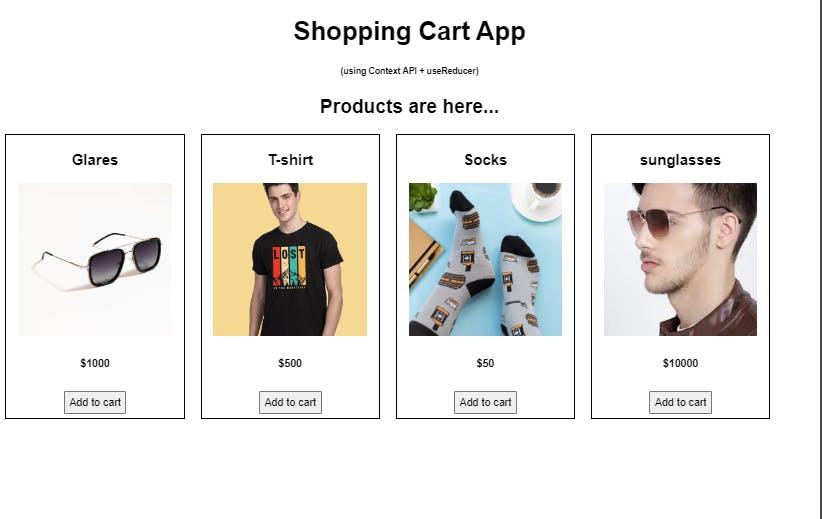
<h1>Shopping Cart App </h1>
<h6>(using Context API + useReducer)</h6>
<h2>Products are here...</h2>
<div className="card-container">
{products.length
? products.map((item, cIndx) => (
<Card key={item.id} item ={item}/>
))
: null}
</div>
</div>
);
}
Step3: Create a component src>Card.js, to show the product details
import React from "react";

const Card = (props) => {
  const { item } = props;

  return (
    <div key={item.id} className="item-card-div">
      <h3>{item.name}</h3>
      <img src={item.imgSrc} alt="product-img" className="item-img" />
      <h5>${item.price}</h5>
      <button className="btn">Add to cart</button>
    </div>
  );
};

export default Card;
Now Let's start designing the cart section, where we'll show the products that are there in the cart.
For the Cart design, Add the following code: in src>App.js
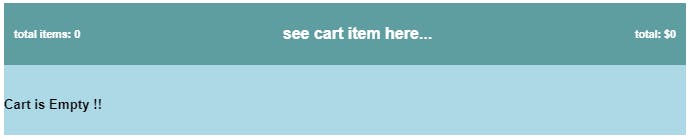
{/* CART */}
      <div className="cart-div">
        <div className="cart-header">
          <h6 className="total-items">
            total items: 0
          </h6>
          <h4>see cart item here...</h4>
          <h6 className="cart-total">total: $0</h6>
        </div>
        <h5>Cart is Empty !!</h5>
      </div>
As our Basic design is ready, we can start adding the functionality to it
Step4: Create a new file in src > cart-context.js
import { createContext, useContext, useReducer } from "react";
import { reducerFun } from './cart.reducer';

const itemsInCart = {
  cart_total: 0,
  total_items: 0,
  items: []
};

const CartContext = createContext(itemsInCart);

const CartProvider = ({ children }) => {

  const [state, dispatch] = useReducer(reducerFun, itemsInCart);

  return (
    <CartContext.Provider value={{ state, dispatch }}>
      {children}
    </CartContext.Provider>
  );
};

const useCart = () => useContext(CartContext);

export { useCart, CartProvider };
Step5: In the src > index.js, wrap the App Component inside the Cart provider like this
import { StrictMode } from "react";
import ReactDOM from "react-dom";
import { CartProvider } from "./cart-context";

import App from "./App";

const rootElement = document.getElementById("root");
ReactDOM.render(
  <CartProvider>
    <App />
  </CartProvider>,
  rootElement
);
Step6: Now lets add the logic to our app, using useReducer What is useReducer?? The useReducer is a hook I use sometimes to manage the state of the application. It is very similar to the useState hook, just more complex. It acts as an alternate hook to the useState hook to manage complex state in your application. The useReducer hook uses the same concept as the reducers in Redux.
Now create a new file src > cart.reducer.js
Let's write our 1st logic: ADD TO CART
export const reducerFun = (state, action) => {

  switch (action.type) {
    case "ADD_TO_CART":
      let itemExists = false;
      const newAr = state.items.map((item) => {
        if (item.id === action.payload.id) {
          itemExists = true;
          return { ...item, qty: item.qty + 1 };
        } else {
          return item;
        }
      });
      if (!itemExists) {
        newAr.push({ ...action.payload, qty: 1 });
      }
      console.log("newar..", newAr);
      return {
        ...state,
        cart_total: state.cart_total + action.payload.price,
        total_items: state.total_items + 1,
        items: [...newAr]
        //items: [...state.items, ...newAr]
      };
      break;


    default:
      return state;
  }
};
This logic basically, does is if the item is alreay preasent in the cart the quantity is increased by 1, else the item is added in the cart , with qty 1.
Step7: Now on Clicking the addtoCart button the add to cart functionality should get dispatched, so for that. dispatch the action in Card component
import React from "react";
import { useCart } from "./cart-context";


const Card = (props) => {
  const { item } = props;
  const globalVal = useCart();

  return (
    <div key={item.id} className="item-card-div">
      <h3>{item.name}</h3>
      <img src={item.imgSrc} alt="product-img" className="item-img" />
      <h5>${item.price}</h5>
      <button className="btn"
      onClick={() =>
        globalVal.dispatch({ type: "ADD_TO_CART", payload: item })
      }
      >Add to cart</button>
    </div>
  );
};

export default Card;
Now replace the CART code in step3 in src> App.js, with the follwing code to see the products, that you add to the cart
{/* CART */}
      <div className="cart-div">
        <div className="cart-header">
          <h6 className="total-items">
            total items: {globalVal?.state?.total_items}
          </h6>
          <h4>see cart item here...</h4>
          <h6 className="cart-total">total: ${globalVal?.state?.cart_total}</h6>
        </div>
        <div className="card-container">
          {globalVal.state.items.length
            ? globalVal.state.items.map((item, cIndx) => (
                <div key={item.id} className="item-card-div">
                  <h3>{item.name}</h3>
                  <img
                    src={item.imgSrc}
                    alt="product-img"
                    className="item-img"
                  />
                  <h5>${item.price}</h5>
                  <button
                    className="btn"
                    onClick={() =>
                      globalVal.dispatch({
                        type: "REMOVE_FROM_CART",
                        payload: item
                      })
                    }
                  >
                    Remove from cart
                  </button>
                  <div className="qty-container">
                    <button
                      onClick={() =>
                        globalVal.dispatch({
                          type: "INCREMENT_QTY",
                          payload: item
                        })
                      }
                    >
                      +
                    </button>
                    <label>{item.qty}</label>
                    <button
                      onClick={() =>
                        globalVal.dispatch({
                          type: "DECREMENT_QTY",
                          payload: item
                        })
                      }
                    >
                      -
                    </button>
                  </div>
                </div>
              ))
            : <h5>Cart is Empty !!</h5>}
        </div>
      </div>
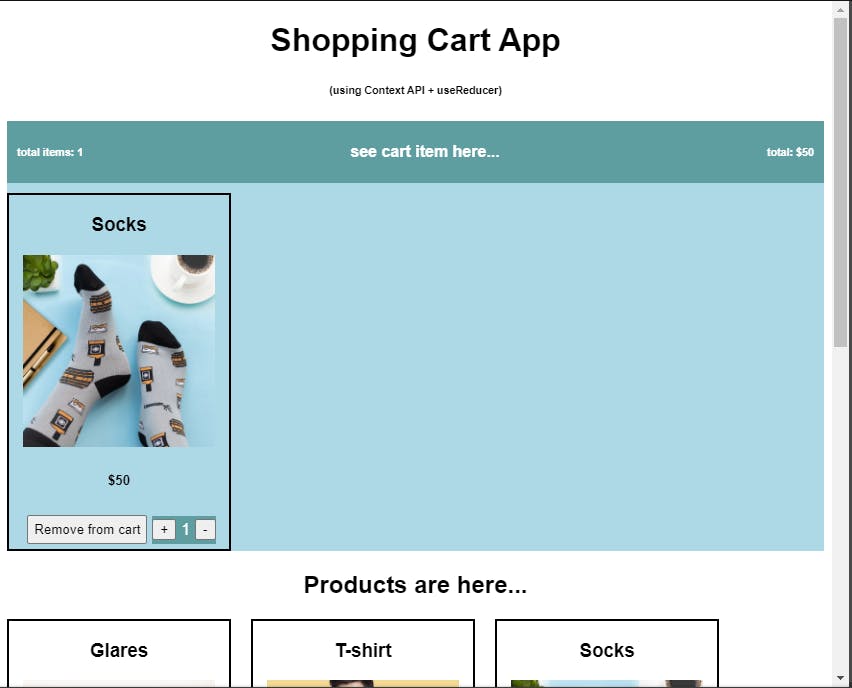
Similar to ADD_TO_CART, you can have other functionality, that we are going to add soon.Till the time lets check our app,that will look like this
Now let's add the other functionalities as well in the src> cart.reducer.js , like the code shown below
export const reducerFun = (state, action) => {
  console.log("state is abc abc:", state.items, action.payload);
  // console.log("action.payload.qty:", action.payload.qty);

  switch (action.type) {
    case "ADD_TO_CART":
      let itemExists = false;
      const newAr = state.items.map((item) => {
        if (item.id === action.payload.id) {
          itemExists = true;
          return { ...item, qty: item.qty + 1 };
        } else {
          return item;
        }
      });
      if (!itemExists) {
        newAr.push({ ...action.payload, qty: 1 });
      }
      console.log("newar..", newAr);
      return {
        ...state,
        cart_total: state.cart_total + action.payload.price,
        total_items: state.total_items + 1,
        items: [...newAr]
        //items: [...state.items, ...newAr]
      };
      break;

    // return {
    //   ...state,
    //   cart_total: state.cart_total + action.payload.price,
    //   total_items: state.total_items + 1,
    //   items: [
    //     ...state.items,
    //     { ...action.payload, qty: action.payload.qty + 1 }
    //   ]
    // };
    // break;

    case "REMOVE_FROM_CART":
      let filteredArray = state.items.filter((item) => {
        return item.id !== action.payload.id;
      });
      return {
        ...state,
        cart_total:
          state.cart_total > 0
            ? state.cart_total - action.payload.qty * action.payload.price
            : 0,
        total_items: state.total_items > 0 ? state.total_items - 1 : 0,
        items: filteredArray
      };
      break;

    case "INCREMENT_QTY":
      let newArray = state.items.map((item) => {
        if (item.id === action.payload.id) {
          console.log("222222", { ...item, qty: item.qty + 1 });
          return { ...item, qty: item.qty + 1 };
        } else {
          return item;
        }
      });
      console.log("newArrayyy:", newArray);
      return {
        ...state,
        cart_total: state.cart_total + action.payload.price,
        total_items: state.total_items + 1,
        items: newArray
      };
      break;

    case "DECREMENT_QTY":
      let new_Array = state.items.map((item) => {
        if (item.id === action.payload.id) {
          console.log("222222", { ...item, qty: item.qty - 1 });
          return { ...item, qty: item.qty - 1 };
        } else {
          return item;
        }
      });
      return {
        ...state,
        cart_total:
          state.cart_total > 0 ? state.cart_total - action.payload.price : 0,
        total_items: state.total_items > 0 ? state.total_items - 1 : 0,
        items: new_Array.filter((item) => item.qty !== 0)
      };

    default:
      return state;
  }
};
as you can see, the basic functionalities here: "ADD_TO_CART": Adds the specific item to the Cart "REMOVE_FROM_CART": Remove the specific item from the Cart "INCREMENT_QTY": Increments the quantity by 1 "DECREMENT_QTY": decrements the quantity by 1
So Our Basic "Shopping Cart App" is ready, with the basic functionality! Hope you enjoyed making the small app!